Publishing consistent, helpful content is one of the best ways to improve your website’s visibility, establish authority, connect with your audience, and attract new customers.
The good news? You do not need to be a professional web designer to publish a well-optimized blog post in WordPress.
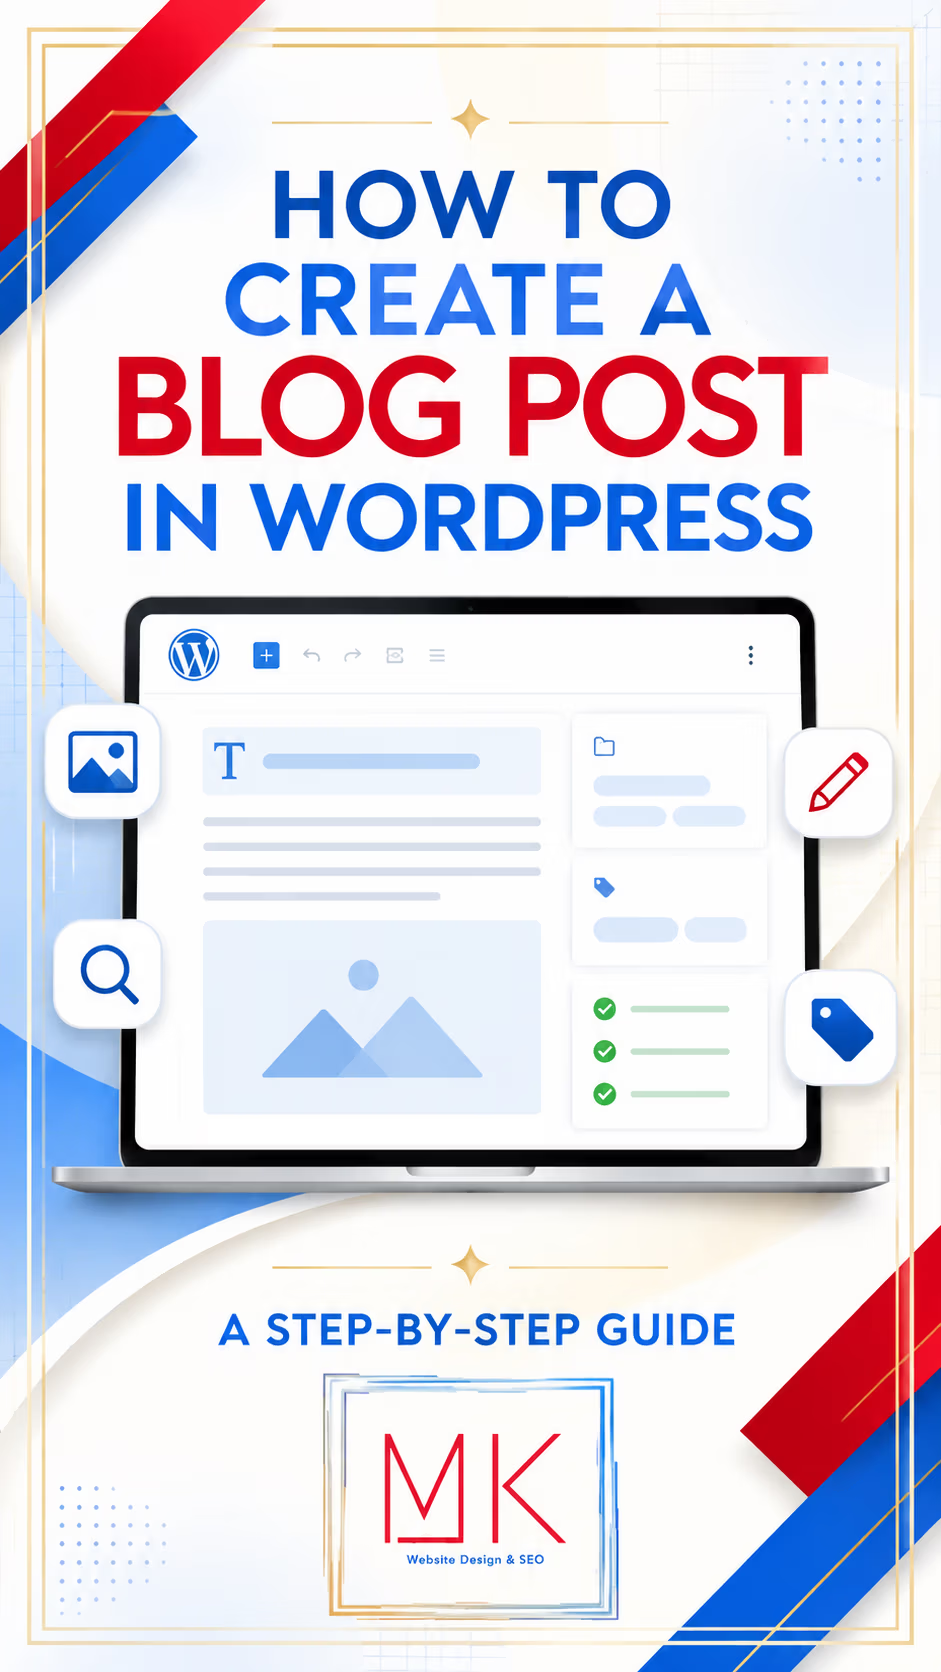
In this guide, MK Marketing walks you through the entire process—from creating your post and adding images to selecting categories, writing an excerpt, and optimizing your content with Yoast SEO.
Step 1: Choose a Clear Topic
Before logging into WordPress, decide what your article will be about.
The strongest blog topics usually answer a question, solve a problem, explain a process, or provide information your ideal audience is already searching for.
Ask yourself:
- What question does this article answer?
- Who is the article intended to help?
- What should readers understand or do after reading it?
- What phrase might someone type into Google to find this information?
That final question will help you identify your SEO focus keyphrase.
For example, if you are writing an article explaining how authors can promote their books, your focus keyphrase might be:
Book marketing tips for authors
Keep each blog post centered on one primary topic. Trying to cover too many unrelated subjects can confuse readers and make it harder for search engines to understand the purpose of the page.
Step 2: Log In to WordPress
Go to your website’s WordPress login page. In most cases, it will look like this:
yourwebsite.com/wp-admin
Enter your username and password to access the WordPress dashboard.
Once you are logged in:
- Select Posts from the left-hand menu.
- Click Add New Post.
WordPress will open the post editor, where you can add your title, content, images, categories, tags, and SEO information.
Step 3: Write an Engaging Blog Title
Enter the title of your article at the top of the page.
Your title should clearly tell readers what the article is about while giving them a reason to click.
Effective blog titles often include:
- A specific benefit
- A question your audience is asking
- A number or list
- A step-by-step promise
- Your primary focus keyphrase
Examples include:
- 10 Book Marketing Tips Every New Author Should Know
- How to Create a Professional Author Website
- A Step-by-Step Guide to Publishing a Blog Post in WordPress
- Why Every Small Business Needs a Content Marketing Strategy
Try to keep your SEO title close to 50–60 characters when possible so it is less likely to be cut off in search results. Yoast SEO will preview how the title may appear on Google.
Step 4: Create a Clean URL Slug
WordPress automatically creates a URL based on your post title. You can edit this URL in the post settings.
The final portion of the URL is called the “slug.”
For example:
www.yourwebsite.com/how-to-create-a-wordpress-blog-post
A strong URL slug should be:
- Short
- Easy to read
- Written in lowercase
- Separated with hyphens
- Free of unnecessary dates or filler words
- Relevant to the article’s focus keyphrase
Avoid URLs that include random numbers, symbols, or the entire title when a shorter version will work.
Step 5: Write and Format the Article
Add your article inside the WordPress block editor. Each paragraph, heading, image, button, quote, or list can be added as an individual block.
Your article should include:
- A compelling introduction
- Clear headings and subheadings
- Short, readable paragraphs
- Helpful examples or instructions
- A conclusion or call to action
Use the correct heading structure:
- Heading 1: Your main article title—WordPress usually creates this automatically.
- Heading 2: The main sections of the article.
- Heading 3: Supporting points within an individual section.
Do not use headings only because you like their font size. Headings create an organized structure that helps readers and search engines understand your content.
Blog Formatting Tips
- Keep most paragraphs between two and four sentences.
- Break up long sections with headings, lists, images, or quotes.
- Use bold text to highlight important information, but do not overuse it.
- Avoid writing large blocks of uninterrupted text.
- Check spelling, punctuation, names, links, and dates before publishing.
- Write naturally for your audience instead of forcing keywords into every paragraph.
Step 6: Add Relevant Links
Links can make your article more useful and support your website’s SEO.
Internal Links
Internal links direct readers to other pages or posts on your own website.
For example, an article about book promotion might link to your:
- Author website design services
- Book marketing services
- Media kit page
- Related blog articles
- Contact page
Internal links help readers discover more of your content and give search engines a clearer picture of how the pages on your website are connected.
External Links
External links direct readers to helpful information on another trustworthy website.
Only link to credible, relevant sources. When possible, avoid linking to websites that directly compete with your business.
Use descriptive link text instead of vague phrases such as “click here.” For example, “review our author marketing services” gives readers more context than “learn more.”
Step 7: Select a Featured Image
The featured image is the primary image associated with your blog post. Depending on your website’s design, it may appear at the top of the article, on the blog archive page, in search previews, and when the post is shared on social media.
To add one:
- Open the post settings on the right side of the editor.
- Locate Featured Image.
- Click Set Featured Image.
- Upload a new image or choose one from your Media Library.
- Add descriptive alternative text.
- Click Set Featured Image to confirm your selection.
Featured Image Tips
- Use a clear, professional image that relates directly to the article.
- Maintain a consistent visual style across your blog.
- A horizontal image around 1200 × 630 pixels works well for many websites and social-sharing platforms.
- Check your website’s existing blog layout before selecting the final dimensions.
- Avoid placing important text too close to the edges, where it may be cropped.
- Compress large images so they do not slow down the page.
- Use descriptive filenames, such as
wordpress-blog-post-guide.jpg, instead ofIMG_4587.jpg. - Add accurate alt text that describes the image for visitors using screen readers.
Do not stuff keywords into your alt text. Describe the image naturally and only include the focus keyphrase when it genuinely fits.
Step 8: Write the Excerpt
An excerpt is a short summary of your blog post. WordPress themes may display it on your blog page, archive pages, search results, or other sections of your website.
Look for the Excerpt section in the post settings. If you do not see it, open the editor preferences and make sure the excerpt panel is enabled.
A strong excerpt should:
- Be approximately one to three sentences
- Clearly summarize the article
- Give readers a reason to continue
- Include the focus keyphrase naturally when appropriate
- Avoid repeating the title word for word
Example Excerpt
Learn how to create and optimize a WordPress blog post with this step-by-step guide covering featured images, excerpts, categories, tags, and Yoast SEO.
The excerpt is different from the Yoast meta description. In some cases, the wording may be similar, but each field serves a different purpose.
Step 9: Choose a Category
Categories organize your blog into broad subject areas.
For an author marketing website, possible categories might include:
- Author Marketing
- Book Promotion
- Social Media
- Website Tips
- Publishing Advice
- Branding
- Public Relations
Choose the category that best represents the article’s primary subject.
Avoid creating a new category for every post. Too many categories can make your website difficult to navigate. Most articles should have one primary category, although a second category may be appropriate when the content clearly belongs in both.
If possible, replace the default Uncategorized category with something more meaningful before publishing.
Step 10: Add Relevant Tags
Tags identify specific topics, names, or details mentioned within an article.
For example, a post in the Book Marketing category might use tags such as:
- Amazon author page
- Book launch
- Author branding
- Media outreach
- Social media marketing
Categories are broad sections of your blog, while tags are more specific labels.
Use tags carefully. Adding too many tags—or creating multiple versions of the same tag—can lead to thin archive pages and a cluttered website.
A small number of relevant tags is better than a long list of loosely related terms. If a tag will only be used once and does not help visitors explore related content, you may not need it.
Step 11: Optimize the Post With Yoast SEO
If your website uses the Yoast SEO plugin, you will find the Yoast settings below the post editor or inside the WordPress sidebar.
Yoast provides recommendations to help improve search visibility and readability.
Add Your Focus Keyphrase
Enter the primary phrase you want the article to target.
Your focus keyphrase should reflect what someone would realistically search for. It should also match the main subject of the article.
For this article, the focus keyphrase could be:
How to create a blog post in WordPress
Use the keyphrase naturally in several important places:
- The blog title
- The URL slug
- The introduction
- At least one heading
- The meta description
- The image filename or alt text when relevant
- The body of the article
Avoid repeating the exact phrase unnaturally. Search engines are designed to understand related wording, synonyms, and context.
Write the SEO Title
The SEO title is the headline that may appear in Google search results.
It can be the same as your article title, or you can customize it to improve clarity and search appeal.
Example:
How to Create a Blog Post in WordPress: Step-by-Step Guide
Make sure the title accurately represents the article. Avoid misleading or exaggerated clickbait.
Write the Meta Description
The meta description is the short summary that may appear below your title in search results.
Aim for approximately 150–160 characters, although Google may choose to display different text from the page.
A good meta description should:
- Summarize the article
- Include the focus keyphrase naturally
- Communicate a clear benefit
- Encourage the reader to click
Example:
Learn how to create a blog post in WordPress, including featured images, excerpts, categories, tags, keywords, and Yoast SEO metadata.
Review the Yoast Recommendations
Yoast may evaluate:
- Keyphrase placement
- SEO title length
- Meta description length
- Internal and external links
- Image alt text
- Paragraph length
- Subheading distribution
- Passive voice
- Transition words
- Overall readability
The colored indicators are helpful guidelines, but you do not need to force every light to turn green. Clear, accurate, helpful writing is more important than changing natural language simply to satisfy a plugin.
Step 12: Preview the Post
Before publishing, click Preview to see how the article will look on your website.
Review the post on both desktop and mobile if possible.
Check for:
- A properly displayed featured image
- Correct heading sizes
- Comfortable spacing
- Working links
- Readable text
- Proper image alignment
- Accurate categories and tags
- Spelling or formatting errors
- A clear call to action
The preview is also your opportunity to catch awkward line breaks, oversized images, or formatting that looked fine in the editor but does not display correctly on the live page.
Step 13: Publish or Schedule the Article
When everything is ready, click Publish.
WordPress may ask you to confirm the post’s visibility and publication date.
You can:
- Publish the article immediately
- Schedule it for a future date and time
- Save it as a draft
- Make it private
- Protect it with a password
If you publish on a consistent schedule, consider preparing several posts in advance and using the scheduling feature.
Step 14: Promote the Published Post
Publishing is only the beginning. Once your article is live, share it with your audience.
You can promote it through:
- Your email newsletter
- Google Business Profile
- Author or company pages
- Relevant online communities
Create a short caption that explains why the article is valuable and includes a direct link to the post.
You can also revisit older articles and add internal links to your new post when the topics are related.
Final WordPress Blog Post Checklist
Before publishing, confirm that you have:
- Written a clear, engaging title
- Created a short, readable URL
- Used headings to organize the content
- Added internal and relevant external links
- Selected a professional featured image
- Added descriptive image alt text
- Written an excerpt
- Chosen the correct category
- Added only relevant tags
- Entered a Yoast SEO focus keyphrase
- Customized the SEO title
- Written a compelling meta description
- Previewed the desktop and mobile layouts
- Proofread the complete article
- Included a clear call to action
Need Help With Your WordPress Website or Content Marketing?
Creating optimized blog content takes more than simply adding words to a page. Each article should support your brand, answer your audience’s questions, and help your website become more visible in search results.
MK Marketing helps authors and small businesses create professional websites, strategic content, compelling graphics, and customized marketing campaigns designed to build visibility and reach the right audience.
Contact MK Marketing to learn how we can help you strengthen your online presence and turn your website into a more effective marketing tool.