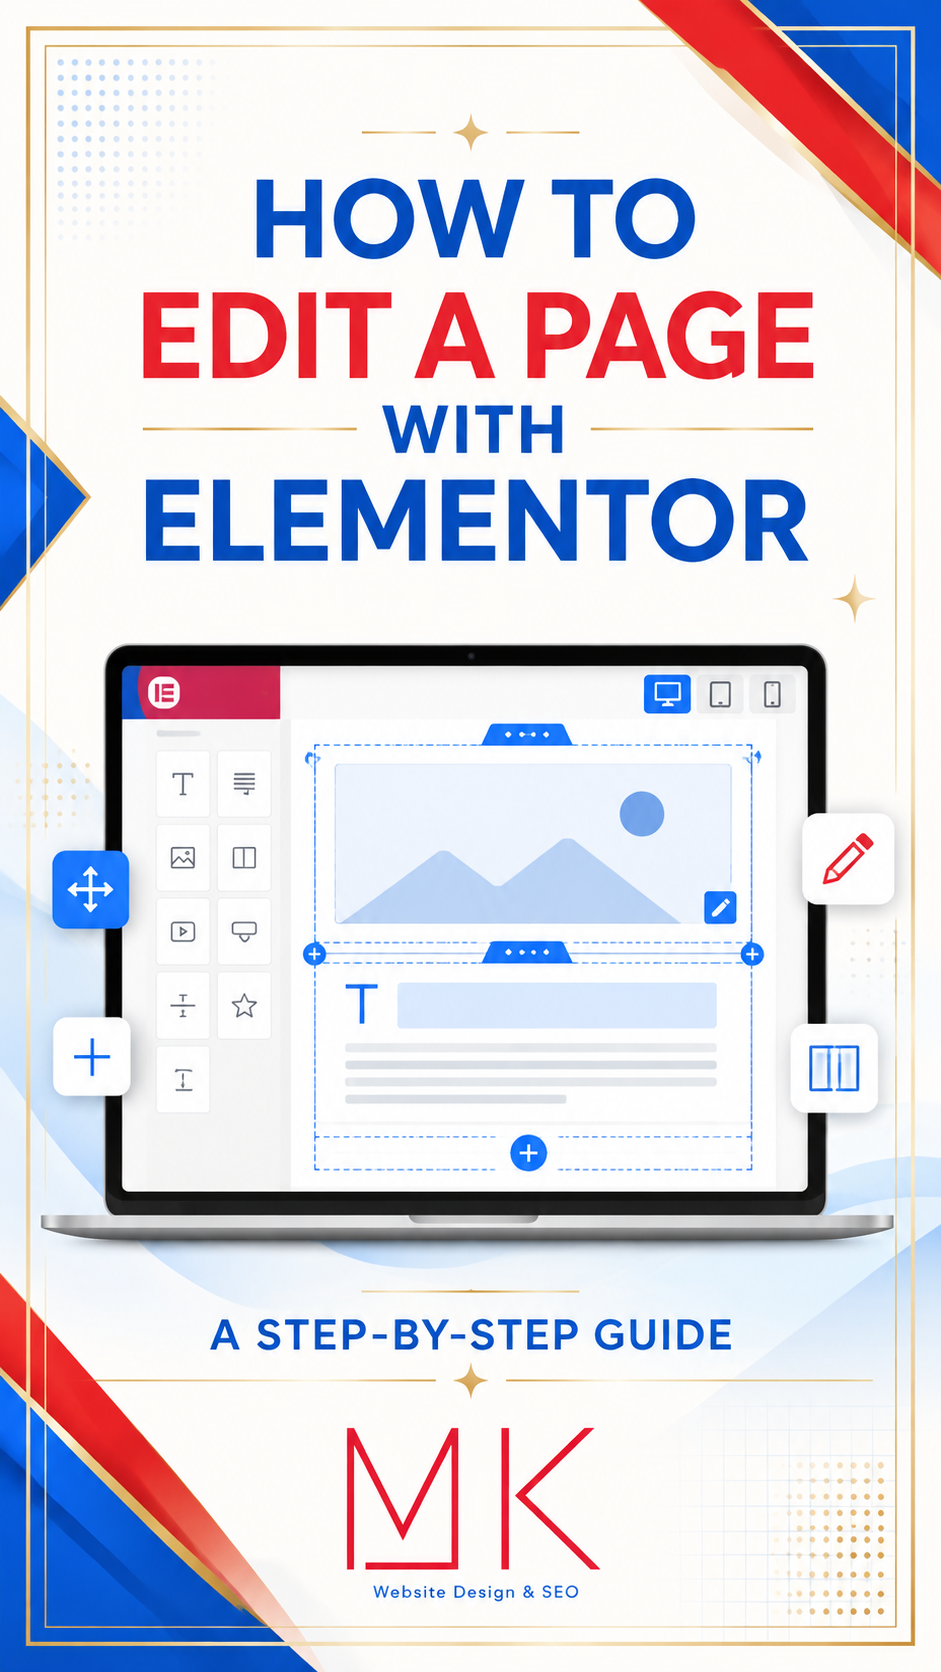
One of the biggest advantages of having a WordPress website built with Elementor is the ability to update your content without knowing how to code.
Whether you need to change a paragraph, replace a photo, update a button, or add an entirely new section, Elementor provides a visual editor that lets you see your changes as you make them.
In this step-by-step guide, MK Marketing explains how to safely edit a website page using Elementor while protecting the design, mobile layout, and functionality of your site.
Before You Begin
Before editing your website, gather everything you will need, including:
- Your WordPress login information
- The final text you want to add
- Properly sized and optimized images
- Links for buttons or calls to action
- Correct phone numbers and email addresses
- Any dates, prices, or business details being updated
Proofread your new content before adding it to the website. Preparing everything in advance helps you work more efficiently and reduces the possibility of publishing an unfinished update.
If you plan to make major design changes, create a website backup or work on a staging copy first. Small text and image updates can usually be completed safely on the live website, but significant layout changes deserve additional protection.
Step 1: Log In to WordPress
Go to your website’s WordPress login page. In most cases, the address will look like this:
Enter your username and password.
Once you are logged in, you will arrive at the WordPress dashboard. The options available in the dashboard may vary based on your user role and the plugins installed on your website.
Step 2: Locate the Page You Want to Edit
From the WordPress dashboard:
- Select Pages from the left-hand menu.
- Click All Pages.
- Find the page you want to update.
- Hover over the page title.
- Select Edit with Elementor.
Do not select the standard WordPress Edit option when you want to change the visual Elementor layout. Use Edit with Elementor to open the page in the visual editor.
You can also visit the page while logged into WordPress and select Edit with Elementor from the administration toolbar at the top of the screen.
Elementor’s current instructions also direct users to open Pages, hover over the appropriate page, and select Edit with Elementor. The exact appearance of the interface may vary depending on whether your website uses Elementor Editor V3 or V4. View Elementor’s official instructions.
Step 3: Become Familiar With the Elementor Editor
When Elementor loads, you will see a preview of your page and the editor controls.
Depending on the Elementor version used by your website, the editing panel may appear on the left side of the screen or within a newer toolbar-based interface.
Most Elementor pages are constructed from three basic components:
- Containers or sections establish the page layout.
- Widgets or elements hold individual pieces of content.
- Columns or nested containers organize content within the layout.
Common Elementor widgets include:
- Heading
- Text Editor
- Image
- Button
- Icon
- Video
- Spacer
- Divider
- Testimonial
- Image Gallery
- Form
When you select an element, its editing options will appear in the Elementor panel.
You may see settings divided into areas such as:
- Content: Controls the words, images, links, and basic information.
- Style: Controls colors, fonts, borders, backgrounds, and visual appearance.
- Advanced: Controls spacing, positioning, motion effects, responsiveness, and other technical settings.
The names and locations of these controls may differ slightly between Elementor versions.
Step 4: Use the Page Structure to Find an Element
Some pages contain many containers, images, buttons, and text widgets. If you have difficulty selecting the correct item directly on the page, open the Structure panel.
In some versions of Elementor, this feature may be called Navigator.
The Structure panel displays the page as an organized tree, allowing you to:
- Locate individual elements
- See which widgets are inside each container
- Select elements that overlap
- Rename containers for easier identification
- Rearrange elements by dragging and dropping
- Understand how the page is organized
Elementor’s official documentation explains that the Structure panel provides one-click access to the elements on a page and can also be used to rearrange them. Learn more about Elementor’s Structure panel.
Be careful when dragging items inside the Structure panel. Moving an element into the wrong container can change its position, width, spacing, or mobile behavior.
Step 5: Edit a Heading
To update a heading:
- Click directly on the heading.
- Locate the heading text in the Elementor editing panel.
- Replace the existing wording.
- Review the page preview.
You may also be able to edit the heading directly on the page.
Before changing the heading’s design, note its current:
- HTML tag
- Font
- Size
- Weight
- Color
- Alignment
- Spacing
Heading Tip
Your page should normally have one primary H1 heading that identifies the main topic. Supporting sections can use H2 and H3 headings.
Do not select a heading tag simply because you prefer its visual size. Heading tags help search engines and assistive technologies understand the organization of the page. Font size and appearance should be controlled through the design settings.
Step 6: Edit Paragraph Text
To change a paragraph:
- Select the Text Editor widget.
- Edit the wording in the Content area.
- Check your paragraph spacing and formatting.
- Confirm that links and bold text still work correctly.
When pasting text from Microsoft Word, Google Docs, an email, or another website, you may accidentally bring hidden formatting into Elementor.
For the cleanest results, paste the content as plain text and apply the desired formatting inside Elementor.
Text Editing Tips
- Keep paragraphs short and easy to read.
- Avoid changing fonts and colors unless necessary.
- Preserve the website’s existing heading structure.
- Check names, dates, prices, and contact details.
- Avoid using multiple spaces to control alignment.
- Do not use blank paragraphs to create large gaps.
- Use Elementor’s spacing controls instead of repeatedly pressing Enter.
Step 7: Replace an Image
To replace an existing image:
- Select the image on the page.
- Click the current image preview in the Content settings.
- Choose an existing image from the Media Library or upload a new one.
- Confirm the selection.
- Review the image size and placement.
Before uploading a new image:
- Resize it to appropriate dimensions.
- Compress it for faster loading.
- Use a descriptive filename.
- Add accurate alternative text.
- Make sure you have permission to use it.
- Confirm that the subject will not be awkwardly cropped on mobile devices.
Instead of uploading a file named IMG_4827.jpg, rename it to something meaningful, such as:
wordpress-website-design-services.jpg
Image Alt Text
Alternative text, commonly called alt text, describes an image for visitors using screen readers. It can also help search engines understand the image.
Good alt text should accurately describe what appears in the image.
For example:
Business owner updating a WordPress website with Elementor
Do not fill the alt text with unrelated keywords. Decorative images may not require descriptive alt text.
Step 8: Update a Button and Its Link
To change a button:
- Select the Button widget.
- Update the button text.
- Enter or replace the destination URL.
- Confirm whether the link should open in the same window or a new window.
- Test the button before publishing.
Your button text should clearly describe what happens next.
Examples include:
- Schedule a Consultation
- Order the Book
- Download the Media Kit
- Learn More
- Contact Us
- Register Today
Avoid vague button text when a more descriptive call to action is possible.
If the button links to another page on your website, search for and select the internal page when that option is available. If it links to an outside website, enter the complete address, including https://.
For phone links, use:
tel:4805551234
For email links, use:
mailto@example.com
Always test phone numbers, email addresses, downloadable files, and external links after updating the page.
Step 9: Add a New Element
To add a new widget or element:
- Open the Elementor elements panel.
- Find the widget you want to use.
- Drag it into the appropriate container.
- Add your content.
- Adjust the styling only as needed.
Common additions include headings, paragraphs, images, buttons, videos, icons, and dividers.
Before adding a new element, look at similar content elsewhere on the page. Matching an existing design is usually easier than creating new styling from scratch.
If the website already has a correctly designed button, text block, or image section, you may be able to duplicate it and replace the content.
Step 10: Duplicate or Delete an Element
To duplicate an element:
- Right-click the element or open its options menu.
- Select Duplicate.
- Move the copy into the correct position.
- Replace the original content.
To delete an element:
- Select the correct widget or container.
- Open its options menu.
- Select Delete.
Be especially careful when deleting containers. A container may hold multiple headings, images, buttons, or nested containers. Deleting the parent container can remove everything inside it.
If you accidentally delete or move something, use the editor’s undo feature immediately.
- On Windows, press Ctrl + Z.
- On a Mac, press Command + Z.
Elementor also includes revision history, which can restore earlier versions of a page. Review Elementor’s revision and undo instructions.
Step 11: Adjust Spacing Carefully
Most Elementor spacing is controlled with padding, margins, gaps, or container layout settings.
- Padding creates space inside an element or container.
- Margin creates space outside an element or container.
- Gap controls the space between items in a container.
Avoid changing spacing unless you understand which element controls it. A small adjustment on the wrong container can affect several sections of the page.
When values are linked, changing one side may change all four sides. Look for a chain or link icon that controls whether the top, right, bottom, and left values are connected.
Do not use excessive spacer widgets or empty text boxes to position content. Proper padding, margins, and container gaps produce a more reliable responsive layout.
Step 12: Check the Tablet and Mobile Layouts
A page that looks correct on a desktop computer may not look right on a tablet or phone.
Before publishing:
- Open Elementor’s responsive editing controls.
- Switch to the tablet view.
- Review the page from top to bottom.
- Switch to the mobile view.
- Review the page again.
- Correct any spacing, alignment, sizing, or visibility problems.
Check for:
- Headings that are too large
- Text that extends beyond the screen
- Images that crop important details
- Buttons that are difficult to tap
- Excessive blank space
- Columns appearing in the wrong order
- Overlapping elements
- Content hidden on a particular device
Some Elementor settings can be adjusted independently for desktop, tablet, and mobile. When a responsive device icon appears next to a setting, confirm which device you are editing before making a change.
Elementor recommends using responsive mode to review and customize elements for different screen sizes. Read Elementor’s responsive editing guide.
Step 13: Preview Your Changes
Before updating the live page, use Elementor’s preview option.
Review the complete page and ask:
- Is all the information accurate?
- Are the headings consistent?
- Are the images clear?
- Do all links work?
- Is the text easy to read?
- Does the page look good on desktop and mobile?
- Is the call to action clear?
- Did anything shift unexpectedly?
Previewing is especially important after changing containers, spacing, image dimensions, or responsive settings.
Step 14: Save Your Work
When you are satisfied with the changes, click Update or Publish, depending on the status of the page.
- Update saves changes to an existing live page.
- Publish makes a new or previously unpublished page public.
- Save Draft stores an unpublished page without making it public.
Wait for Elementor to confirm that the page has been saved before closing the editor.
Avoid opening the same page in multiple Elementor editing tabs. Saving from an older tab could overwrite newer changes.
Step 15: Review the Live Page
After saving, open the public version of the page in a new browser tab.
Do not rely only on the Elementor preview. Confirm that the live page displays correctly.
Test the page on:
- A desktop computer
- A tablet, if available
- A mobile phone
- More than one browser when possible
Click every button and important link. Confirm that forms, downloads, email addresses, and phone numbers work correctly.
What If Your Changes Do Not Appear?
Sometimes a page has been updated correctly, but an older version is still stored in a cache.
Try the following:
- Refresh the page.
- Open the page in a private or incognito browser window.
- Clear your browser cache.
- Clear your WordPress caching plugin.
- Clear your hosting or server cache.
- Clear your content delivery network cache, if applicable.
- In WordPress, navigate to Elementor > Editor > Tools.
- Select Clear Files & Data.
- Save the changes and check the page again.
Elementor’s troubleshooting guidance recommends clearing browser, plugin, server, and CDN caches and using Clear Files & Data when published changes do not appear. View Elementor’s official troubleshooting steps.
What If the Elementor Editor Will Not Load?
If Elementor displays a blank screen, continuously loads, or does not show its editing controls:
- Refresh the browser.
- Close unnecessary browser tabs.
- Clear the browser cache.
- Try another browser.
- Confirm that Elementor and Elementor Pro are compatible.
- Check for plugin conflicts.
- Ask your hosting provider to review available memory.
- Contact your website developer before changing plugins or technical settings.
Do not deactivate plugins on a live website unless you understand what they control. Deactivating a plugin can affect forms, security, backups, ecommerce functions, layouts, and other important features.
Elementor maintains an official troubleshooting guide for situations where the editor does not load correctly. Review Elementor’s editor troubleshooting guide.
Be Careful With Global Elements
Some content is controlled globally and may appear on multiple pages.
Examples include:
- Website headers
- Website footers
- Announcement bars
- Popup designs
- Global colors
- Global fonts
- Saved templates
- Reusable sections
- Theme Builder templates
Editing a global template may change every page that uses it.
If you are unsure whether an element is global, stop before changing it and ask your website designer. A small edit to a global header, footer, or template can affect the entire website.
Common Elementor Editing Mistakes to Avoid
Editing the Wrong Page
Confirm the page title and public URL before making changes.
Changing Global Fonts or Colors
Global settings can affect multiple pages. Change them only when you intend to update the overall website design.
Uploading Oversized Images
Large image files can slow down the website. Resize and compress images before uploading them.
Deleting an Entire Container
A container may include several widgets. Check the page structure before deleting anything.
Ignoring the Mobile Layout
Always inspect the page on smaller screens before publishing.
Pasting Formatted Text
Content copied from other programs may include hidden fonts, colors, spacing, or code.
Forgetting to Update
Your changes will not appear on the live website until you select Update or Publish.
Editing in Multiple Browser Tabs
Saving the same page from different tabs can overwrite your most recent work.
Changing Advanced Settings Without Understanding Them
Positioning, custom CSS, motion effects, responsive visibility, and z-index settings can significantly affect the page. If you are unsure, contact your website professional.
Elementor Page-Editing Checklist
Before leaving the editor, confirm that you have:
- Selected the correct page
- Proofread all updated text
- Checked names, dates, prices, and contact information
- Used the correct heading structure
- Optimized newly uploaded images
- Added descriptive image alt text
- Tested every updated button and link
- Reviewed the desktop layout
- Reviewed the tablet layout
- Reviewed the mobile layout
- Previewed the complete page
- Clicked Update or Publish
- Checked the live page
- Cleared the cache if necessary
Keep Your Website Accurate, Professional, and Current
Regular website updates show visitors that your business is active and attentive. Accurate information, current images, working links, and a clean mobile layout also help build trust with potential customers.
Elementor makes everyday content updates accessible, but even a visual editor requires care. Take your time, preview your work, test every important link, and avoid changing global or advanced settings unless you understand how they affect the rest of the website.
If you would rather have a professional manage your website updates, MK Marketing offers website design, maintenance, SEO, content creation, and ongoing support for authors and small businesses.
Let MK Marketing help you keep your website polished, current, and working for your brand.